Content Type
Job Aid
 Duration
5m
 Level
Level
Introductory
Learn how to deploy InterSystems FHIR Server on AWS via the InterSystems Managed Services portal.
- Navigate to the home page of the InterSystems Cloud Services portal and click Create New Deployment.
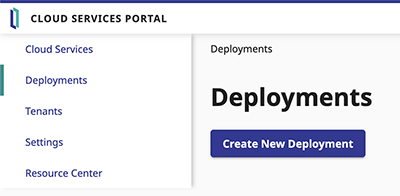
- Select the service you wish to deploy, in this case, FHIR Server.
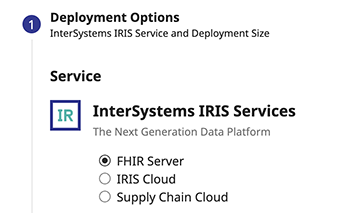
- Select the size of your deployment. In the example shown below, an Extra Small configuration has been selected. This size is good for experimental and testing scenarios. Click Continue to proceed.

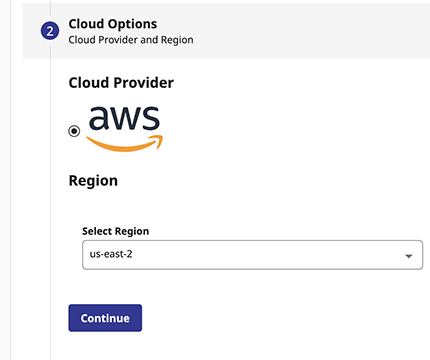
- Choose your cloud options, including cloud provider—Amazon Web Services, in this example—as well as the region within that provider to which your service will be deployed. Then click Continue.
- Assign a name to your deployment. Keep in mind that a meaningful name will help you identify the deployment within your account. When the deployment name is set, click Continue.
Note: The deployment name cannot be changed once the deployment has been created, so be sure to review your name prior to continuing.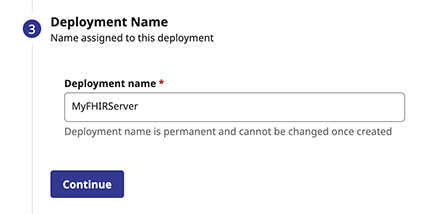
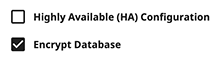
- Review the options you have selected to ensure that everything is correct. Note that the checkbox items at the bottom of your summary are not actually selectable fields; they simply reflect your choices from the additional settings shown earlier. If you need to make a change, scroll back to the appropriate group of settings and click it to make modifications.
- When you are satisfied with your settings, click Create, and your service will begin deploying. A green pop-up box will indicate that the deployment has been initiated.
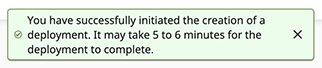
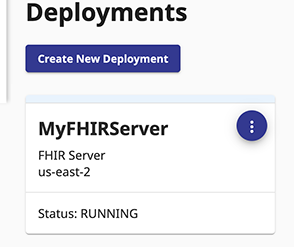
Your service will show a status of CREATING while it is deploying. Other possible statuses include PENDING, UPDATING, or RUNNING. Once your deployment reaches the RUNNING state, click the card to begin using InterSystems FHIR Server.